The Pikachuk Modding Engine is a modding engine made by Pikachuk to help making mods, this page is made to help users of the Pikachuk Modding Engine to use it
like the pose mod or any script hook mod, the pme engine mod will work on all future yandere simulator builds
Page under construction, the page is not complete yet
Part 1 : Download the Pikachuk Modding Engine[]
Download the latest alpha :
UNITY 4 VERSION(old builds)
https://www.mediafire.com/?f7le5et95lfbx62 alpha from 06/27/2017
UNITY 5 VERSION
http://www.mediafire.com/file/ekj5dc67m33gs7i/PME_engine_Unity_5_version.rar alpha from 08/27/2017
THE PME ENGINE DOESN'T WORK ON UNITY 2017 BUILDS YET, THE FIRST UPDATE SINCE 2 YEARS IS IN DEVELOPMENT[]
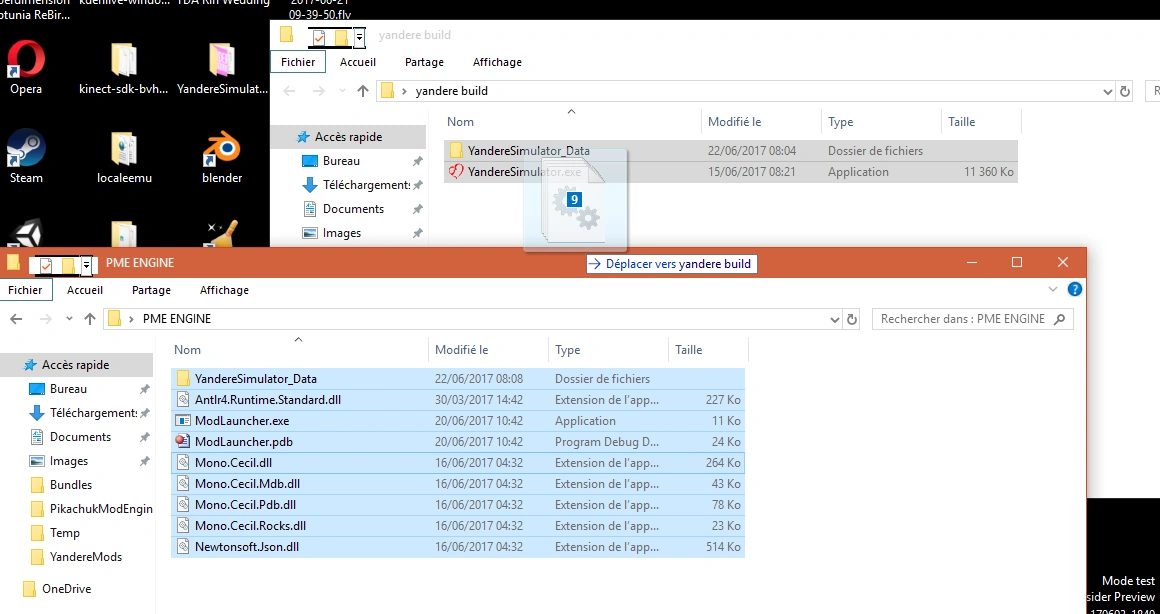
1 - To start using the Pikachuk Modding Engine, drop the PME engine files directly on your current Yandere Simulator folder like this
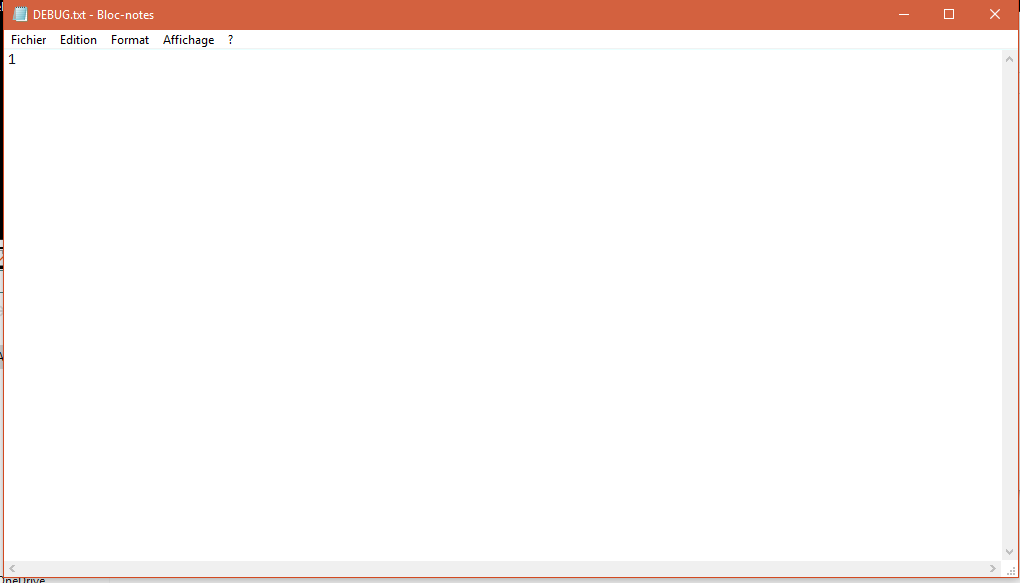
2 - Once done, make sure to set DEBUG.txt in "YandereSimulator_Data/StreamingAssets/PikachukModEngine/DEBUG.txt" to "1" or "true" like on this image
3 - Start Yandere Simulator with ModLauncher.exe to verify that the debug log correctly appears at the top left corner of the game

4 - Start creating your mods
ps (UNITY 4 ONLY) : if you want to use the pose mod at the same time, move the kg_PoseMod.dll from the "YandereSimulator_Data/StreamingAssets/PikachukModEngine/PoseModCompatibleVersion/" to "YandereSimulator_Data/StreamingAssets/PikachukModEngine/Plugins/"
Part 2 : Making a mod with the Engine[]
Even making a mod that completely replaces the school with the engine is easy but takes a lot of time
To make a mod with the Pikachuk Modding Engine, you'll have need of a text editor, Notepad++ is recommanded.
the latest Unity Studio version compatible with unity 5 can be found here :
https://github.com/Perfare/UnityStudio/releases
for notepad++ a language syntax file has been made to help to see if an error has been made on a line, the file is available here for unity 4
https://www.mediafire.com/?p8lipz3971fbwd5
if you have a unity 5 compatible build, the xml is in "StreamingAssets\PikachukModEngine\Scripts\PMS"
go to lang tab and go to user defined language, from this window you'll be able to select import, you'll just have to import the xml
To make AssetBundles with Unity 4, Unity 4.7.0 pro or unity 4.7.2 pro is required
Unity PRO is not required for AssetBundles on Unity 5
To convert audio files to ogg, audacity is recommanded
1 - Start making a file named "StartScript.PMS" in the "YandereSimulator_Data/StreamingAssets/PikachukModEngine/Scripts/PMS/" folder
(MAKE SURE IT IS NOT A .TXT ELSE IT WON'T WORK)
2 - Depending on all the scenes you'll load for the mod, create multiple scripts named
"[NameOfScene]Script.PMS" (for example "SchoolSceneScript.PMS" will automatically load when the schoolscene is loaded)
3 - To use a bundle with the engine, drop the bundle on the program named "Encrypt.exe" located in "YandereSimulator_Data/StreamingAssets/PikachukModEngine/Encrypt.exe"
(The engine is sometimes blocked by some antivirus, make sure to disable your antivirus while using it)
and put the generated crypted bundle in the Bundles folder
4 - To use music with the engine, you must first convert the song to ogg and place it in "YandereSimulator_Data/StreamingAssets/PikachukModEngine/Assets/Music/"
5 - When your mod is finished, don't forget to put the engine in release mode (set DEBUG.txt to 0 and remove all the .PMS from the Scripts folder and keep only the .PMSCRYPT (don't forget to play the scripts in game before to allow them to be encrypted automatically or encrypt them yourself with Encrypt.exe))
when you release the mod take the files from the engine files and replace all the files inside the folder PikachukModEngine by the ones of your mod
Part 3 : List of Functions[]
This list may change A LOT because this engine will update often, be sure to often check this section to be sure to correctly use functions
Informations :
a function is always written with this schema "NAMEOFFUNCTION(ARGUMENTS);" never forget the ";" else you will have script errors
float = decimal number (it allows negative values) (examples : "56" ,"85.254", "-150.68")
string = text (examples : "this is a text" "this is another text")
int = decimal number but only integer values without point
bool = false or true
Functions :
1 - SelectGameObject(string);
- This function selects the gameobject by its name in order to apply future functions on it,
(example : SelectGameObject(YandereChan);
there is a special way to write it to select a specific student (SelectGameObject(Student[IDOfStudent]);)
2 - LoadScene(string);
- This function loads a scene by its name, for example LoadScene(SchoolScene); will load the school scene
3 - LoadLevelAdditive(string);
- This function loads a scene without unloading the current scene, so the elements of the selected scene will be added to the current scene
4 - WaitSeconds(float);
- This function waits some seconds before loading the next function
5 - BundleLoad(string,string OPTIONNAL);
This function loads a bundle (WARNING : ONE BUNDLE PER SCRIPT, if you want to load a second bundle, make a second script and call the script with LoadPESScript) for example BundleLoad(CharacterBundle.unity3dCRYPT);
if you add a PASSWORD.txt file in your asset bundle, you'll be able to add a second security, in this case you must type the function like this
BundleLoad(CharacterBundle.unity3dCRYPT,Passwordinpassword.txt);
if the password is incorrect, the game will exit automatically
6 - LoadPESScript(string);
This function starts a script by its name, for example LoadPESScript(loadthecharacter); would start loadthecharacter.PMS (LoadPESScript starts a script WHILE the current script is running, so the current script will continue to load the next lines at the same time as the other script loads its lines, it allows multiple tasks at the same time)
7- DebugLog (string);
This function writes a line in the debug log, the debug log appears on screen in debug mode and can be found in "YandereSimulator_Data/PikachukModEngineLog"
example : DebugLog(The script finished this action);
8 - ActivateObjectScripts();
This function activates all the scripts from the selected gameobject, it doesn't require any argument
9 - ActivateObject();
Activates current selected object, this function doesn't require any argument
10 - ActivateChildObjectScripts();
Activates all scripts from the child gameobjects of the current selected object
11 - DisableGameObject();
disables current selected object, this function doesn't require any argument
12 - DisableComponentObject(string);
Disable a component of the selected object by the component name
example DisableComponentObject(StudentScript);
13 - ModelReplace(string);
Replaces the rigged 3d model of the current selected object by the one from the loaded bundle
make sure your model is correctly rigged to the correct boneset of the object you want to replace
example : ModelReplace(FlanModel);
14 - SelectGameObjectInChildren(string);
if the gameobject you want to select is a child of the current selected gameobject, using this function will be faster than SelectGameObject
SelectGameObjectInChildren works the same way as SelectGameObject but searches only in child objects
15 - InstantiateObjectFromBundle(string);
Instantiates a gameobject from an assetbundle by its name and set it automatically as current selected object
example : InstantiateObjectFromBundle(house);
16 - ActivateAllChildObjects();
Activate all the child gameobjects of the selected gameobject, it's useful to activate gameobjects that are not meant to be visible, for example the secret demons from the Hell gameobject
17 - YandereHairstyle(int);
change the current yandere chan hairstyle by its ID, example : YandereHairstyle(0); will make yandere chan bald
18 - ChangeScale(float,float,float OR string);
Change the scale of the current selected object depending either on the 3 X Y and Z value or on the name of an object to get the same values
examples : ChangeScale(0.2,0.2,0.2); will set the selected object size to 0.2
ChangeScale(School); would set the selected object size to the same size as the school
19 - ChangePosition(float,float,float OR string);
Change the Position of the current selected object depending either on the 3 X Y and Z value or on the name of an object to get the same values
examples : ChangePosition(2,2,2); will set the selected object Position to 2
ChangePosition (School); would set the selected object Position to the same Position as the school
20 - ChangeRotation(float,float,float OR string);
Change the Rotation of the current selected object depending either on the 3 X Y and Z value or on the name of an object to get the same values
examples : ChangeRotation(2,2,2); will set the selected object Rotation to 2
ChangeRotation (School); would set the selected object Rotation to the same Rotation as the school
21 - ChangeLocalPosition(float,float,float OR string);
Change the Local Position of the current selected object depending either on the 3 X Y and Z value or on the name of an object to get the same values
examples : ChangeLocalPosition(2,2,2); will set the selected object Rotation to 2
ChangeLocalPosition (School); would set the selected object Local Position to the same Local Position as the school
22 - ChangeLocalRotation(float,float,float OR string);
Change the Local Rotation of the current selected object depending either on the 3 X Y and Z value or on the name of an object to get the same values
examples : ChangeLocalRotation(2,2,2); will set the selected object Rotation to 2
ChangeLocalRotation (School); would set the selected object Local Rotation to the same Local Rotation as the school
23 - ChangeParent(string);
Change the Parent object of the current selected object to the object defined in the argument
example : ChangeParent(YandereChan); would set the parent of the object to yandere chan
it's useful to not disable a specific object when we want to disable a gameobject that is a parent of this object
it can be used too to attach an object to a bone of a charactger for example on the head or the hands
24 - CopyObject(string);
Create a clone of the current selected object, give to this object the name of the string argument and select automatically this object
example : CopyObject(thecopy); will create a clone of the selected object named thecopy
25 - DontDestroyObject();
applies the DontDestroyOnLoad setting to the selected gameobject, the gameobject will still active even when a new scene is loaded
26 - LoadAllBundle();
This command loads all the bundle data from the selected bundle in memory, this is important if we want to load a scene from a bundle it can be used like this
BundleLoad(nameofbundle);
LoadAllBundle();
LoadScene(nameofscenefrombundle);
27 - ChangeMusic(string,bool);
Change the current game music by the one of the argument by its name
if the bool is true, the song will automatically have variations of pitch depending on sanity
example : ChangeMusic(Levan Polka,true); would replace the music by levan polka
28 - StopTimeClock();
Stops the time of the clock, for example if in the game it is 8:05 AM, it will still 8:05 AM forever
29 - AdjustClipping(float,float);
this command is more useful when we replace the school by something really big, it allows to set the camera clipping to allow to see far objects and objects near from us
example : AdjustClipping(0.3,1000); will render objects that are 0,3 in distance near the camera and 1000 in distance far from the camera, more the far value is big, more the field of view will be bigger, the default biggest far value in yandere simulator is set to 350, it is recommanded to disable the QualityManager gameobject when we modify these values
30 - ForceActivation(string,bool);
Activate the disabled object by its name
if the object is a root object and hasn't any parent, set the bool to true
example : ForceActivation(Classroom,true);
31 - LimitBreak(); (UNITY 4 ONLY)
Removes the yandere chan distance limitation, useful to import big maps
32 - Teleporter(string,string,string);
Create a teleporter link
the first string is the teleporter object, it must have a collider set to isTrigger
the second string is the destination object
the third is optional, it's the music name if you want to change the music once the teleportation is done
33 - RetargetModel(string Name of model to use for the current selected object,NULL (simply type "null"),string root bone);
Allows to retarget a gameobject to make the gameobject follow the animations and replace the model, it is similar to ModelReplace except that it doesn't require to load from a bundle and it works on bonesets with bones moved
if you don't have loaded a bundle, it will search the gameobject in the scene, else it will load the gameobject in the bundle
example RetargetModel(RivalChan,null,Hips);
34 - ActivateGhostChan();
this command can activate ghost chan, it will make her always visible without having to take a picture of her, useful for replacing a model by ghost chan with RetargetModel
35 - UnloadBundle();
Unloads the current loaded bundle, is useful to load a new bundle once the current bundle has been used, what has been already loaded won't be unloaded so the elements imported from the bundle will still active
36 - WaitKey(string);
Pauses the script until the selected key has been pressed, to know the list of unity key names, go to the "Keys" section of this page
https://docs.unity3d.com/Manual/ConventionalGameInput.html
37 - WaitButton(string);
Pauses the script until the selected button has been pressed, the buttons have the same names as the game buttons such as "a" "x" "y" ...
38 - WaitAnyKey();
Pauses the script until a key is pressed
37 - RestartScriptInScene();
Restarts the script in the current scene, useful to make loops
example :
if you have a script that always wait for the user to press a key for example to teleport yandere chan somewhere, you can do
WaitKey(n);
SelectGameObject(YandereChan);
ChangePosition(45,5,79);
RestartScriptInScene();
like this, the script will always be ready to teleport yandere chan when the user press a key
38 - RestartScript();
Always restarts the script EVEN WHEN A NEW SCENE IS LOADED
this is not recommanded to use it too much since it can impact fps but if you want a script that can always be used in all scenes, use this one
39 - PlayVideo(string);
I'll post more informations about how to use it later since at the moment it is really specific
40 - StopVideo();
Stops the current playing video and loads the next scene
41 - PlaySoundEffect(string);
Plays a sound effect
the sound effects must be placed in PikachukModEngine/Assets/Sound Effects
ps : if the "Sound Effects" folder doesn't exist in Assets, create the folder
example : PlaySoundEffect(Explosion); would play Explosion.ogg located in the folder
42 - GetInfosObject();
Creates a txt file in debuglogs containing the infos of the current selected object and its child objects and extract all the textures of the object in Assets/Textures/SceneName/GameObjectName
(WARNING : USING IT WILL REPLACE ALL CURRENT SAVED TEXTURES)
43 - ChangeTextures();
Replace the textures of the current selected object, useful when you modified the textures after exporting them with GetInfosObject();
44 - ChangeText(string);
Allows to replace the text of the selected gameobject, for example for the loading text of the title screen or the game title
EXAMPLE :
"SelectGameObject(Main Camera/Panel/Label);
ChangeText(Nep-Nep wants some pudding...);" in the loading scene
would replace the "Loading..." text by "Nep-Nep wants some pudding..."
45 - UnloadBundle();
Unload the current loaded bundle of the script, useful if you want to load a new bundle
the bundle is automatically unloaded once your script finished running so you don't have to add it if you only load one bundle
Part 4 : [DEVELOPERS ONLY] Write a Plugin for the engine[]
If you want to write a plugin for the PME engine, that's really easy, all you need to do is to create a dll, start by creating a static public class named PMEPlugin
in this class, add a static public function named Launch()
You can now write your code, compile your dll and place it in the "Plugins" folder of PikachukModEngine,then fart
(it is recommanded to compile your dll with .net version 3.5)